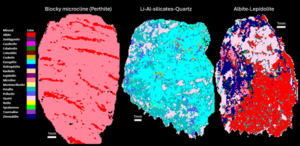
RC Chip Visualisation
Our tool introduces uXRF (micro-X-ray fluorescence) scanning technology to RC chip analysis, enabling rapid, non-destructive, and quantitative analysis of major, minor, and trace mineral phases.
Precision and accuracy are two of the most important concepts to understand when thinking about pXRF technology.
Automatically this statement can cause unease with portable XRF users, but it shouldn’t. Understanding precision and accuracy will help any portable XRF user embrace this statement!
Precision is a measure of variability or repeatability, or, how close your results are to each other. In terms of portable XRF, precision is a measure of how well an instrument can measure something.
Accuracy is a measure of trueness or bias, how close the average value of your results is to the true value, or, how ‘right’ your value is. In analytical chemistry there is no such thing as a true value of course! But we use Certified Reference Material (CRMs), as they are the next best thing.
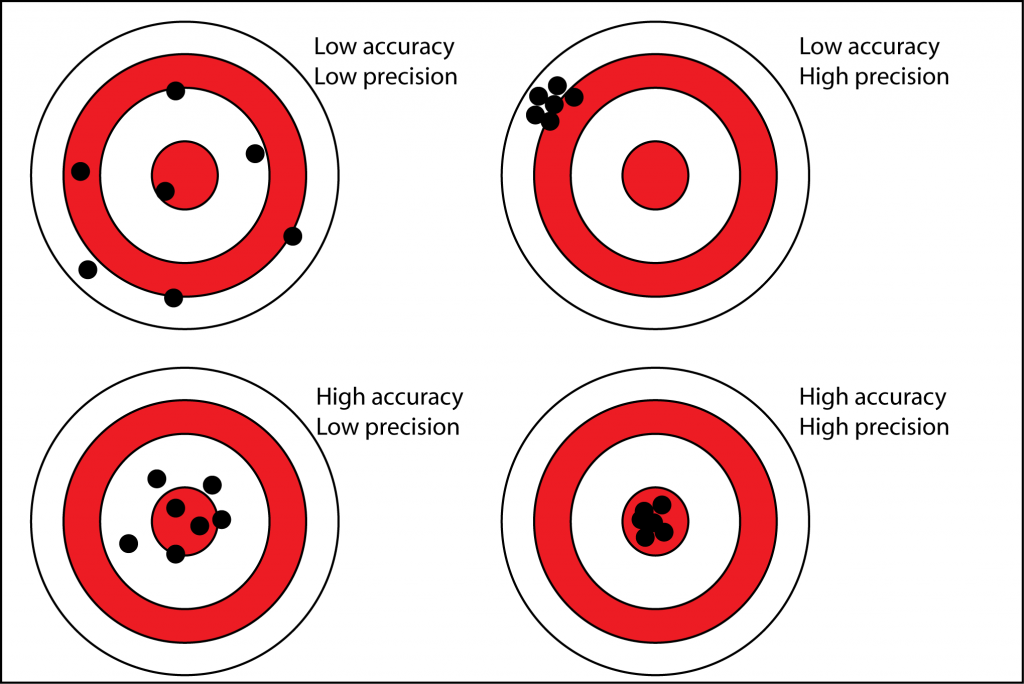
To calculate precision you need to take multiple readings of the same thing. In real life, we might measure a standard or CRM 10 times for example.
Terms you will typically hear being used to describe precision in analytical chemistry are coefficient of variation (CV) and relative standard deviation (RSD). These are exactly the same thing and are a standardised way of measuring dispersion, the spread of your results.
CV = standard deviation / mean
The lower the RSD, the smaller the spread of your results and the higher their precision.
Consider a real life example. Often we want to assess how well a portable XRF instrument can measure an element, in this example, Arsenic (As). As the concentration of arsenic increases, the RSD, or error, decreases exponentially until there is a negligible noticeable reduction in error with increasing grade.
This example also demonstrates the difference in RSD with measurement time. Intuitively, longer measurement times provide more precise results but the user will often want to plot data like this in order to choose an ideal measurement time. Depending on your application, there’s probably not a lot of use in measuring a sample for an extra minute if it’s only going to give you a very slight increase in precision.
Plotting data this way also gives the user an indication of the true limit of detection (LOD) for the element in their sample matrix. This is likely to differ from the quoted manufacturers LOD.

This is the easy one, kind of! Accuracy is simply the difference between your measured and expected result. We can express accuracy in absolute or relative (percentage) terms.
Relative difference = (observed mean – certified value/certified value) x100
In terms of the work we do with portable XRF this is usually as far as we need to go. But! As mentioned above, there is no true value in analytical chemistry. We are using a certified value from a CRM and we know that there is still some error within this. To really understand the accuracy of our measurement we also need to understand the errors in the certified value e.g. analytical error, preparation error, weighing error etc.
“portable XRF instruments are precise but not accurate.”
We can now appreciate that portable XRF instruments can precisely measure elements over certain grade ranges. More importantly, we understand how to measure the precision and calculate how the instruments precision varies under different conditions.
So, if we are happy that the instrument is precise for what we need it for, does it matter that it isn’t accurate? No. As long as we have known values to compare our precise data to it is very easy to simply shift our data to match our certified value. This is as simple as multiplying all your data by a factor.
This is one of the reasons why we use CRM’s with portable XRF and the main reason why we check a certain number of our samples with a laboratory, so we can confirm that the relationship we expect to see with the assayed values and our portable XRF remains constant.
Portable Spectral Services can help you with choosing and supplying the right CRM!

Our tool introduces uXRF (micro-X-ray fluorescence) scanning technology to RC chip analysis, enabling rapid, non-destructive, and quantitative analysis of major, minor, and trace mineral phases.

Automated micro-X-ray fluorescence (micro XRF) technology emerges as a powerful tool to rapidly and accurately capture the mineralogy of rock chip, RC and AC samples.

Findings of an ongoing regional evaluation study over concealed Proterozoic lithologies known to host magmatic nickel sulphides with potential to host other base-metal, gold and rare earth elements (“REE”) systems within the Fraser Range, Western Australia.
Findings of an ongoing regional evaluation study over concealed Proterozoic lithologies known to host magmatic nickel sulphides with potential to host other base-metal, gold and rare earth elements (“REE”) systems within the Fraser Range, Western Australia.
Findings of an ongoing regional evaluation study over concealed Proterozoic lithologies known to host magmatic nickel sulphides with potential to host other base-metal, gold and rare earth elements (“REE”) systems within the Fraser Range, Western Australia.
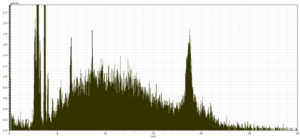
Findings of an ongoing regional evaluation study over concealed Proterozoic lithologies known to host magmatic nickel sulphides with potential to host other base-metal, gold and rare earth elements (“REE”) systems within the Fraser Range, Western Australia.
